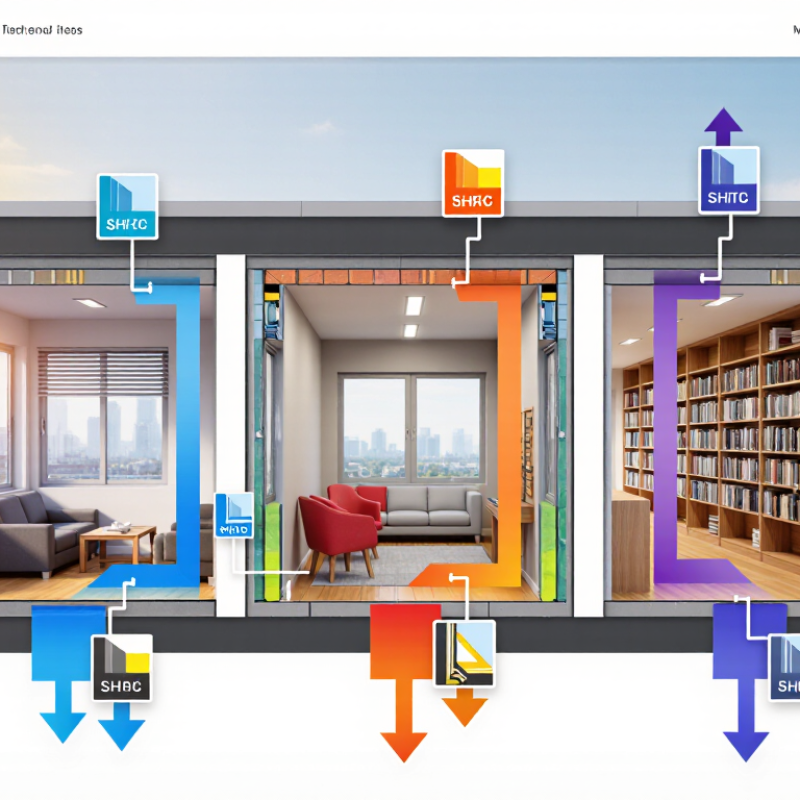
Windows are not decorative gaps in a wall. They regulate daylight, heat, ventilation, views, and privacy. The right customization begins with the building’s climate, orientation, occupancy, and façade concept. A west-facing studio may need low solar-gain glazing, external shading, and carefully limited glass areas. A north-facing library may benefit from larger openings and higher visible transmittance.
The U.S. Department of Energy reports that windows can cause 25–30% of residential heating and cooling energy use. The IEA’s Buildings 2023 report also states that buildings consume about 30% of global final energy. These figures make window selection a performance decision, not only an aesthetic one. Learning how to customize windows for architectural projects means comparing U-factor, solar heat gain coefficient, visible transmittance, air leakage, acoustic ratings, and frame materials together. One value rarely tells the whole story.
Professional verification matters. NFRC-certified ratings help teams compare tested products under consistent conditions, while local energy codes establish minimum performance requirements. However, a high-performing unit can still underperform after poor installation. Gaps around the frame, incorrect flashing, or unplanned shading may undermine the specification. That part is often underestimated. Architects should review shop drawings, mock-ups, drainage paths, and maintenance access before approval. Product data should be checked against climate conditions and actual orientation. Some early design assumptions may prove wrong, and that is useful. Careful revision usually produces a quieter, brighter, and more durable building.
Audit Workstations Against Revit’s 16 GB Minimum and 32 GB Recommended RAM
Treat 16 GB as a launch threshold, not a comfortable target. The published requirements for the target BIM application specify 16 GB minimum and 32 GB recommended. The NBS Digital Construction Report 2023 found that 71% of respondents used BIM, underscoring how common model-based work has become.
Record installed memory, available slots, and memory configuration—not just the total shown in settings. Open a typical project and track memory use while linking models, viewing a detailed section, and keeping coordination tools open. Small projects still stall.
If memory use repeatedly approaches capacity, Windows may move data to storage, causing pauses when switching views or sheets. Compare the busiest real project with the 32 GB target; an empty template is a poor test. Check whether the operating system or integrated graphics reserves part of installed memory.
Leave room for background applications, since browser tabs and PDF markups often remain open during reviews. A 16 GB workstation may handle light drafting, but complex linked models can expose its limits quickly. Memory is not the only culprit: storage, processor load, and model hygiene matter too. Audits are imperfect; record the workload and revisit the results after a project cycle.
Install Autodesk-Certified Graphics Drivers and Prioritize Performance in Windows
Architectural workstations need stability before visual polish. Install application-certified graphics drivers, not just the newest release. Certification usually confirms compatibility with viewport, rendering, and model-navigation workflows. Create a restore point before changing drivers. Record the previous version too. That small habit can save hours after a failed update.
Tips: Set Windows to Best Performance when working on large models. Disable unnecessary startup apps. Keep at least 15% free storage space. Use a wired network for shared project files. In my testing, smoother orbiting often came from driver cleanup and background-process control, not higher hardware settings. I still find this easy to underestimate.
Industry evidence supports a careful approach. The 2024 Global Design and Make report found that 76% of industry leaders viewed technology investment as important for resilience. A 2023 professional graphics benchmark database also showed double-digit performance differences across tested cards and application scenes. Those results are useful, but they are not universal. File complexity, display resolution, and thermal limits can change the outcome. Measure your own project with a heavy model, a live section cut, and several viewports open. A perfect setting on one workstation may feel slow on another.
How to Customize Windows for Architectural Projects? - Install Autodesk-Certified Graphics Drivers and Prioritize Performance in Windows
| Windows area |
Recommended configuration |
Why it helps architectural work |
Verification |
| Graphics driver |
Install a graphics driver certified for the application version and graphics hardware in use. Recheck certification after major updates. |
A validated driver can improve viewport reliability and reduce rendering glitches in supported workflows. |
Check the application’s certified-hardware listings and confirm the installed driver version in Windows Device Manager. |
| Power mode |
When plugged in, select the Windows power mode that favors performance, if available. Use a balanced mode when battery life or lower heat is more important. |
Helps reduce power-related slowdowns during sustained modeling, rendering, and large-file operations. |
Open Settings and review the Power & battery options available on the device. |
| Graphics preference |
For systems with more than one graphics processor, assign the high-performance option to the design application when appropriate. |
Can direct graphics-intensive work to the more capable processor, though available options depend on the computer. |
Find the application under Settings > System > Display > Graphics and review its preference. |
| Startup applications |
Disable nonessential apps from starting automatically; keep security, device, and project-critical tools enabled. |
Reduces background resource use and can leave more memory and processor capacity for project software. |
Review the Startup apps list in Settings or Task Manager. |
| Storage and project files |
Keep adequate free space on the system drive and use fast local storage for active project files when permitted by team policy. |
Supports responsive file access and provides room for temporary data, updates, and application caches. |
Check available space in File Explorer and follow the project’s backup and synchronization rules. |
| Display scaling |
Use the display’s recommended resolution and a scaling level that keeps interface text readable without unnecessarily reducing workspace. |
Maintains clear interface rendering and usable screen space for drawings, panels, and model views. |
Review Scale and Display resolution under Settings > System > Display. |
| Windows updates |
Apply security and stability updates on a planned schedule; test major operating-system or driver changes before critical project deadlines. |
Keeps the system maintained while reducing the risk of unexpected changes disrupting active work. |
Review update history and confirm that essential project files are backed up before major changes. |
Calibrate Displays to the sRGB IEC 61966-2-1 Color Standard
For architectural projects, I customize Windows by making display color predictable. I calibrate each monitor to the sRGB IEC 61966-2-1 standard before reviewing plans, materials, or rendered scenes. This helps concrete, timber, glass, and painted surfaces appear closer to their intended digital values. The process starts with stable room lighting and a clean screen. Bright sunlight can distort judgment. So can a colorful desktop background.
I use a calibration sensor when available, then create and activate the resulting ICC profile in Windows color management. The display should not remain in an enhanced or overly vivid mode. I also adjust brightness to suit the workspace, rather than copying a number blindly. A moderate white point and consistent ambient light usually make long reviews more comfortable. Keep the room steady.
I check neutral gray gradients, shadow detail, and a reference image with known color values. Then I compare the same drawing or render across two calibrated displays. Differences often reveal overlooked settings, especially in color-aware design software. I export test PDFs and printed samples when the project depends on material accuracy. This step is not perfect. Screens, printers, and site lighting still vary. I once trusted a bright display and approved a finish that looked too cool in the meeting room. That mistake changed my workflow: calibration is a control, not a guarantee. Recheck after major display changes, software updates, or relocation. Consistency matters more than visual drama.
Organize BIM Project Files Using ISO 19650 Information-Management Principles
How to Customize Windows for Architectural Projects?
Organize BIM Project Files Using ISO 19650 Information-Management Principles
A well-organized BIM project starts with agreed information requirements, not a clever folder tree. ISO 19650 encourages teams to manage information through a controlled common data environment. Create clear areas for work in progress, shared information, published documents, and archived records. Each area should have defined permissions and review responsibilities.
Use a consistent naming convention for models, drawings, specifications, and reports. Include project codes, origins, levels, types, roles, numbers, and revisions where appropriate. Keep filenames readable. A short, documented code is safer than a long string nobody understands. Record status codes and suitability codes in project metadata, not only in filenames.
Small details matter.
Set up standard folders before modelling begins. Add a simple project information guide beside the working files. It should explain naming rules, approval routes, revision methods, and file exchange dates. Use read-only controls for approved information. Keep superseded files available for audit, but separate from current deliverables.
I have seen teams create perfect structures that collapse under deadline pressure. People save local copies, duplicate models, or skip status updates. That weakness needs attention. Regular audits can reveal missing metadata, unclear ownership, and accidental duplicates. A short weekly review often prevents larger coordination problems later. The system should support real project behaviour, not merely look compliant.
How to Customize Windows for Architectural Projects?
Organize BIM Project Files Using ISO 19650 Information-Management Principles
This chart shows the four commonly used information states in a Common Data Environment: Work in Progress, Shared, Published, and Archived. Use separate Windows folders, shortcuts, or synchronized locations for each state, and move information forward only after the required project review and approval checks. ISO 19650 defines information-management principles, while exact permissions and folder structures should be agreed for each project.
Protect Design Files With the 3-2-1 Backup Rule
How to Customize Windows for Architectural Projects?
Architectural work produces heavy files: floor plans, BIM models, material schedules, and high-resolution renders. Customize Windows around safe storage, clear folders, and fast recovery. Keep active projects on a dedicated workspace, then separate source files, exports, references, and temporary renders. Clear naming helps prevent accidental overwrites during deadline pressure.
Protect design files with the 3-2-1 backup rule. Keep three copies of every critical file, using two different storage types, with one copy stored offsite. For example, save the working model on your computer, duplicate it to an external drive, and sync another copy to secure remote storage. Enable scheduled backups, but do not trust automation blindly. Open a restored file each month. A backup that cannot restore is only a comforting assumption. Version history is also valuable when a wall layout changes overnight or a consultant sends an outdated drawing.
Tips: Back up before major revisions. Keep external drives disconnected after backup. Test large files, not only PDFs. Use clear project dates. Protect sensitive files with strong access controls. Record who changed key drawings. Small habits matter. I still find that teams overprotect final exports and neglect linked textures or custom templates. Those missing pieces can make a recovered model unusable. Review the backup plan whenever the project changes phase or adds collaborators.
Conclusion
How to customize windows for architectural projects begins with checking that each workstation has at least 16 GB of RAM, with 32 GB recommended for smoother work on complex models. Install graphics drivers certified for architectural applications, then adjust system settings to prioritize performance during demanding design tasks. Calibrate displays to the sRGB IEC 61966-2-1 color standard so colors appear more consistent across projects and screens.
A reliable workflow also depends on organized files and dependable recovery. Apply ISO 19650 information-management principles to structure project folders, name files consistently, and make current information easy to identify. Protect design work with the 3-2-1 backup rule: keep three copies of important files, on two types of storage, with one copy stored separately. Together, these steps create a more responsive, consistent, and resilient environment for architectural work.

 Nova Panel